Did you get it right?
Teaser results:
15% said to speed up ⇑
85% said slow down ⇓
85% are right – Slow. It. Down.
Like, 60bpm, smooth jazz lounge slow.
UHS (Ultra High Solids) clear-coat is rapidly becoming the “norm” on modern vehicles, with some European manufacturers having spent over a decade with this technology at their disposal. For consumers, it provides a harder-wearing and more scratch-resistant clear-coat to protect the colour basecoat on the vehicle.

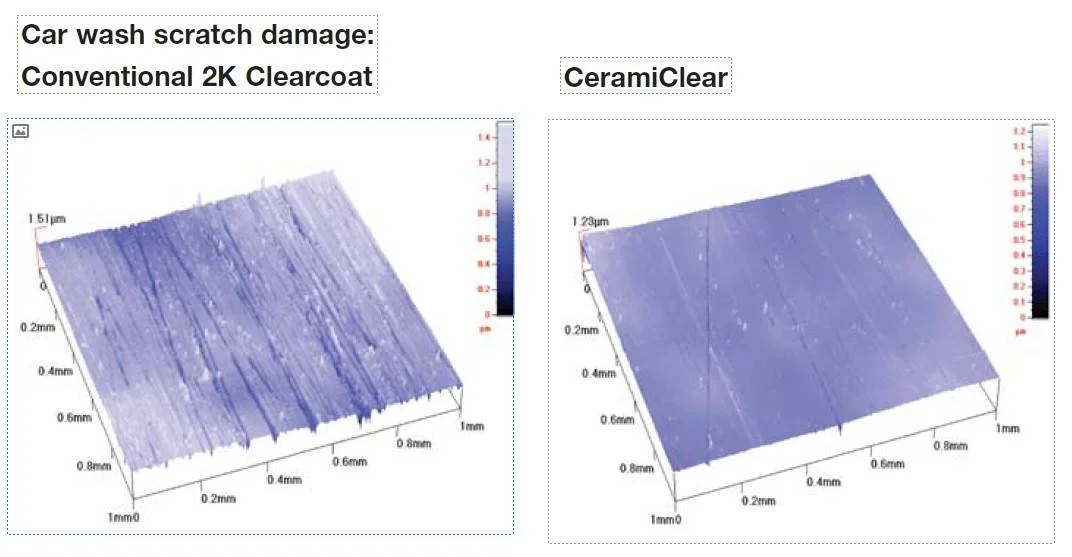
Image courtesy of PPG
This is a massive step forward, however; it has added another branch to the ever-expanding modern detailing knowledge tree. The technology is relatively simple to understand, the standard clear-coat we have known for many years is still in the chemistry, but the addition of micas, silica and other “ceramic” base components have been added to give the attributes required. This gives us a “high solids” clear coat, specifically used for the purpose of protecting the base coat more, and giving the end consumer a long-lasting finish. As detailers, this is good and bad news. The good news is that when corrected and protected adequately, UHS clear-coat can give years of low-defect finish for the owners of the vehicle. This gives great traction to your protection services and builds trust with customers and estimated lifespans of coatings. The downside is that the surface of the clear coat is notoriously tricky to correct when scratches or marred. Due to the hardened nature of UHS clear-coat, it makes short work of diminishing abrasive polishes (DAT), and often reacts badly to heat.
For most detailers, if a polish/pad combination is struggling to cut back defects on a surface, the standard procedure would be to step up the cut of the polish or pad for a more aggressive cut. This would work on the vast majority of modern cars pre-2004 (ish), but it can actually have an adverse effect on UHS clear-coats, and especially so on anything in the “cerami-clear” category. Some detailers claim to use the power of heat to combat the hardness of these types of clear-coat, but the science actually points us in the other direction.
The first problem with using heat build-up is the obvious one… risk of damage. We always drive home the message that monitoring temperatures is the top priority when trying to minimise the risks of damaging the surface.
The second issue is that high solids clear-coats have a tendency to expand when heated. When using the “hot” method to cut defects from UHS, we can actually create a false correction by polishing the expanded surface of the clear coat. When the surface then cools or is wiped down with a paint cleanser, it contracts and the defects rapidly reappear (this is sometimes referred to as thermal rebound). Many detailers have spent a frustrating late night at their unit trying every super-heavy cut polish on the market, only to find it is having very little effect. The heat from the heavy polish causes expansion of the layer, and also blasts through the diminishing abrasives in no time at all (often taking your favourite wool or foam pad down with it). So if heavy cutting doesn’t work, heat through machine speed or arm movement isn’t working, where the hickedy heck do we go next?
Wet sanding? Sure, if you fancy 3 more days trying to remove sanding marks… The best method is to slow things down, cool things down and relax. UHS clear-coat responds very well to medium-abrasive, SMAT derived polishes. If this is combined with the correct pad, which would ideally be an open cell and a medium-hard compound, then the only thing left to do is adjust your machine speed and fiery temper!
Lower machine speed allows the panel and pad temperature to remain as low as possible, avoiding expansion or “rebound”, and also allows the lubricants and abrasives in the polish to work for a longer time. We can counteract the reduced action from the machine speed by adjusting our arm movement to be a little slower. This ensures a slightly longer area coverage time per pass, whilst keeping those temps down still. This method may require twice the amount of passes than you are used to on a normal 2K clear-coat, but it is easily half that of trying to head into battle with a bottle of “TurboGRIT 9000” and a wool pad from 1978. When moving on to the finishing stages add some half steps into the pad and polish reduction. For stage 2, switch out the pad for a softer one, then for stage 3, switch the polish.
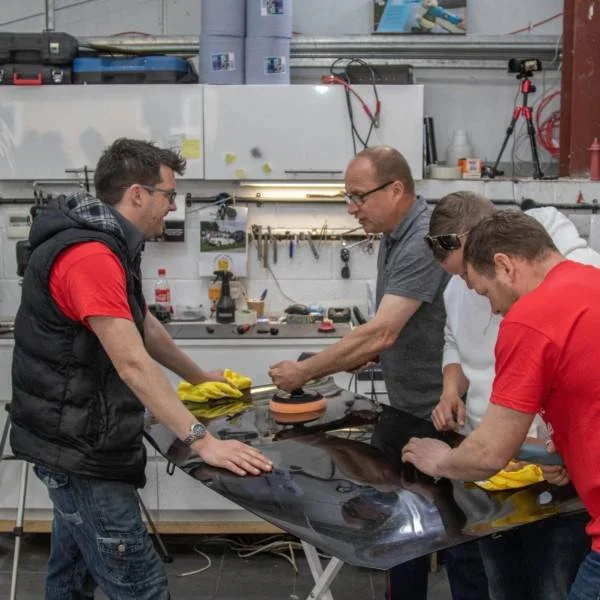
This topic is just one of the many covered in our Career Development courses and is also included in our FlexXperts 2-day sanding and polishing course.
©2021 UK Detailing Academy LTD.

